Creating Kila
Creating Kila An in depth series focused on following the creation of a real time character, from concept to completion and beyond! Check out the whole series here - http://tinyurl.com/CreatingKila
Check out the whole series here - Game Character Creation Series: Kila
Part One - High Resolution Modeling

It’s been over a decade since I released my first book, “Game Character Development in Maya” and as you can imagine, the process for creating game ready characters has moved on quite a bit. With that said, I have to point out that many of the techniques shared in the book are still relevant to today’s game character developers, riggers and animators.
With this tutorial we will bring the game character process up to date as you work through an updated process for creating a re-imagining of one of the book’s main characters, Kila.
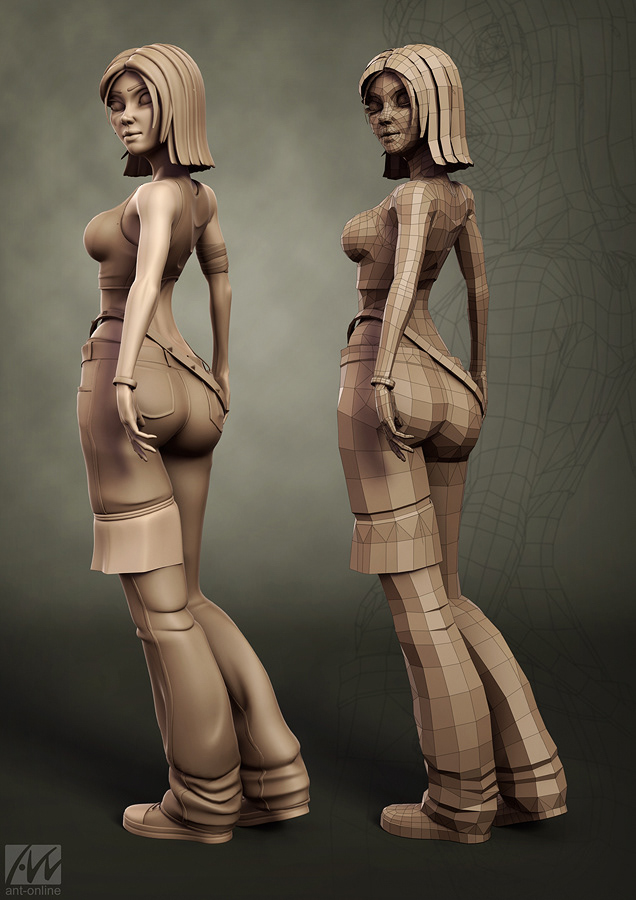
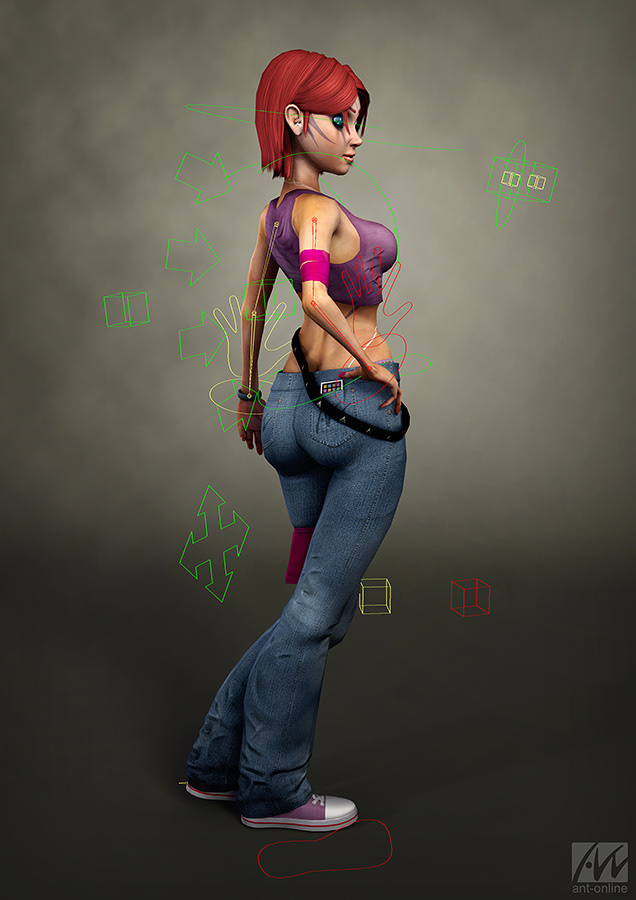
In this, the first part of the course, you will begin by generating a high resolution model to use as a base, not only for generating detail maps but also for your actual game model.
Part Two - Low Resolution Modeling
It won`t be long before the next generation of consoles land in our living rooms. Each will come with a promise of more memory, superior processing power and a host of other “next-gen” features.
To game artists this may seem like a dream come true. More power means more polygons, larger texture pages and limitless possibilities, right? Unfortunately this is rarely the case, and being economical will be just as important when working on a Playstation 4 as it is on an Xbox 360 or even a less powerful handheld device like the Nintendo DS.
In part two of the Game Character Creation series you will be taking the high resolution model of Kila which you created in Part One, and readying her to be integrated into the gaming world.
We will begin by fully optimizing the main model before we explore techniques for creating an economical and game friendly character, ready to be UV`d and textured.
Part Three - UV Mapping
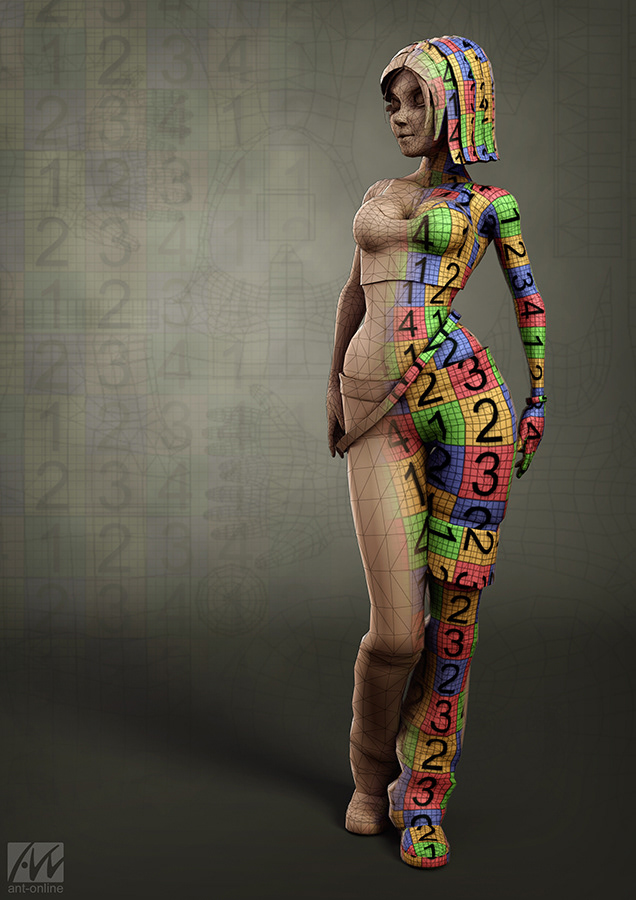
Unless it’s destined to be a sculpture, a model without colour will always be just a flat, lifeless collection of polygons and vertices. Adding colour, even at the most basic level, can bring your character to life and share a glimpse into its history and personality.
Before you add detailed textures however you must take your time to lay out the road map of UVs which will guide where your painted pixels fall onto the surface of your model.
In part three of the Game Character Creation Series you will shift your focus from polygon modelling, to UV mapping. Preparing the low polygon version of Kila you created in Part Two so you can confidently bake and create detailed textures.
Part Four - Texture Baking & Building
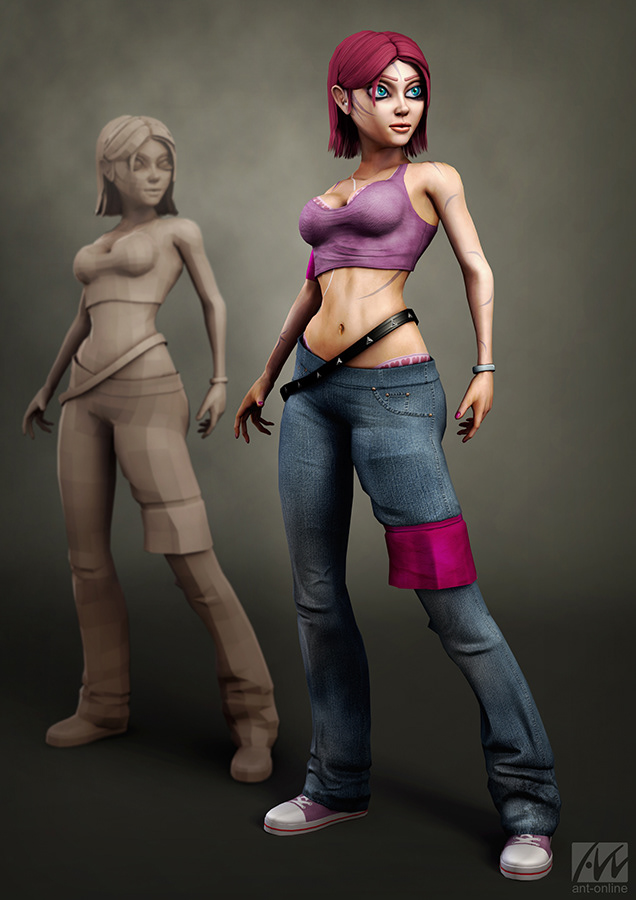
We are now at the fourth part of the Game Character Creation Series and here you will finally begin to breathe some life into Kila and finalise the main game model.
Using a mixture of texture baking, photo manipulation and enhanced detail passes we will walk through one approach to texturing a real time character, turning the flat coloured polygons into a stylised, yet lifelike virtual person.
What I hope to show you in the following tutorial is that texturing needn`t be painful, and you don`t have to be an accomplished 2D artist to get good results. With the help of a few key applications and techniques you will be creating professional quality textures in no time.
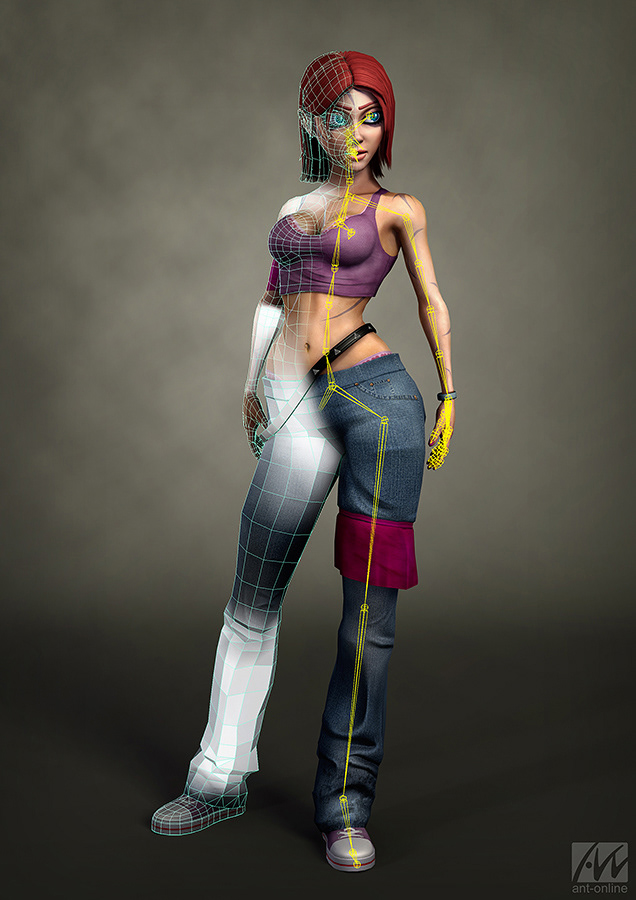
Part Five - Skeleton Building & Binding
Building and texturing a model could be the end of the journey for most game assets. If you`re creating artwork for the environment, props or essentially anything which is lifeless and doesn`t need to deform, the first four parts in this series will be all you need to focus on.
That is of course until you come to generate the Level Of Detail models (LODs), but more on those later in the series.
However, if you are working with something more organic, or which needs to move and emote, there is much more you can do.
In part five of this series you will take the Kila model you have lovingly crafted so far and give her the ability to move. To do this you will first create and configure her base skeleton before attaching it to the model, allowing it to then drive her movements.
Part Six - Basic Character Rigging
Adding a skeleton to a model is a great way to make a once static pile of polygons more dynamic. As the skeleton moves and rotates the model deforms with it, giving the illusion of life. This movement can then be exported and used in any number of game engines.
In some cases a simple joint hierarchy is all you need, but for characters the skeleton can often be more complex and involve a higher number of joints. Controlling these joints alone can be a nightmare task for an animator, especially where walk cycles are involved and feet need to stay planted on the floor. This is where a control rig comes in useful.
Through part 6 of the Game Character Creation Series you will look at building a layer of controls over the top of Kila`s existing skeleton, allowing you to quickly and easily pose and even animate her.
Part Seven - Facial Rigging with Joints
When it comes to animation, the ability to move and pose your character is an essential way of portraying an action or emotion. Body movement is one thing, but the character could still feel lifeless with a blank expression on its face. For your hero or heroine to truly emote and connect with the player, facial animation is crucial.
There are numerous ways to approach facial animation for games but in this series we will focus on the two which are most widely used. These are either a joint based or morph target based solution.
Either approach has its benefits over the other, but whichever you opt to use on future projects could be entirely down to the game engine you are using, or even just the preference of the developer.
In this tutorial we will look at the joint based approach, with the morph target, (or blend shape) alternative coming in Part 8.
Part Eight - Facial Rigging with Blend Shapes
In Part 7 of the Game Character Creation Series we introduced facial animation to Kila using a joint base system. This opened up the possibility for her to talk and also show a wide range of emotions, something which is key to any character animation.
As you know, there is more than one way to approach facial animation for games, so in this tutorial we will focus again on adding a facial rig to Kila, but this time the focus will be on using morph targets, or as they are more commonly known – blend shapes.
Part Nine - Hair Rigging
At this stage in the series, after eight information packed tutorials, we have pretty much covered all the bases. You have worked through both high and low polygon modelling, UV mapping and also texturing. This was then followed closely with skeleton building, rigging and even two approaches to facial rigging, leaving you with a character ready to be animated.
From here we have only two more areas to investigate, and the first being a pretty obvious one. As your moving and posing Kila don`t you get the feeling something is missing, perhaps we have overlooked a key area?
Well, look closer at her head and you will soon realise that her hair, no matter how much you move her, remains static. Yes her body moves, her face emotes but the hair is still a solid, inanimate block of polygons.
In this, the ninth part of the Game Character Creation Series we will investigate a number of ways to rectify this and bring Kila`s hair to life.
Check out the whole series here - Game Character Creation Series: Kila